Acurite Weather Station How to Guide
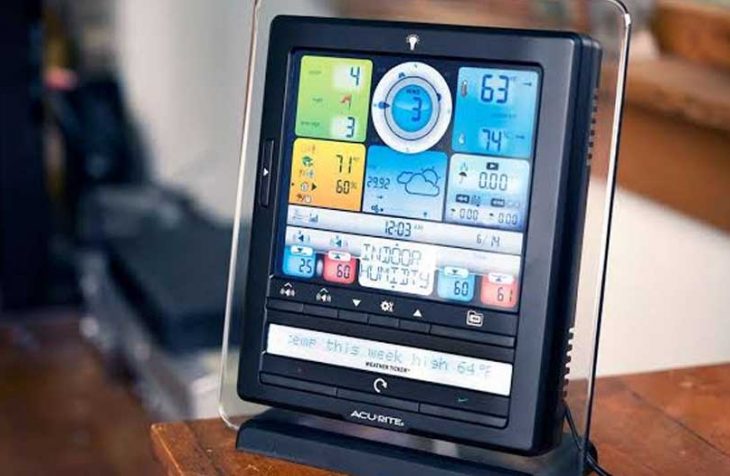
For a weather enthusiast, investing in a custom home weather station can be both fun and educative. As the best-seller, Acurite personal weather stations are among the best out there, with impressive equipment for accurate weather data tracking and forecasting.
This here is a “how-to” on some of the important setup processes to help users make the most out of their Acurite weather stations.
How to Connect My Acurite Weather Station to Wifi
Wireless connectivity allows users to connect and send data to Weather Underground; which is a commercial weather service giving real-time weather information through the internet. If your weather station has the Wi-fi feature, here are the steps to follow to connect:
- Create a WU (Weather Underground) account at wunderground.com if you don’t already have one.
- Add the weather station to your Weather Underground account.
- Power on the display using the provided power cord.
- From your mobile device or computer, connect to the Wi-fi signal of the Acurite display.
- Once connected, open your web browser and type “192.168.4.1” in the address bar and click on enter to access the Acurite Wi-fi display settings website.
- Enter the name of your wireless network and password.
- A Wi-fi status message will appear to confirm your connection to the display.
Check this too: Lacrosse Weather Station How to and Troubleshooting Guide
How to Reset Acurite Weather Station
Prior to resetting, you need to ensure:
- You verify that the A-B-C switch in the battery compartments of the sensor and display are set to the same letter. You may select A, B or C; but both units need to match to sync up.
- You relocate the 5-in-1 sensor and/or display unit.
- You place the units at least 3 feet away from electronics that could interfere with wireless communication.
- You use standard alkaline batteries or lithium batteries in the sensor when the temperature is below -4o
To hard reset:
- Bring the sensor and display unit together and then power down by removing the power cord and/or at least one battery from each.
- Change the A-B-C switch on both units to match on the same channel. Changing to a different can help.
- Reinstall the outdoor sensor’s battery. Check this guide for proper outdoor temperature sensor or thermometer placement
- Reinstall batteries and power cord into the display unit.
- Keep the units a few feet apart of each other for about 5 minutes or until you get a solid sensor signal.
How to Set Time on the Acurite Weather Station
- Press the “settings” button at the back of the display unit to enter SET MODE. The preference you are currently setting will blink on display.
- Adjust the time, press and release the “up” or “down” buttons (press and HOLD to fast adjust)
- Save your time adjustments, press and release the “SET” button once more to adjust the next item.
- If no buttons are pressed for 30 seconds, it automatically exits SET MODE.
How to Calibrate Acurite Weather Station
The forecast can be calibrated on the display unit for better accuracy when environmental factors or sensor placement impact the accuracy of your data. Here are the steps to follow when calibrating:
- Enter the calibration mode by pressing and holding the up and down buttons found at the back of the display unit, for at least 5 seconds.
- The “settings” icon will start flashing on the display, indicating that the moisture in the forecast is ready for calibration.
- Press the “up” and “down” buttons to increase and remove moisture respectively.
- Press the “settings” button to confirm the calibration adjustment; the display will automatically save your adjustments and exit calibration mode after 20 seconds of inactivity.
How to Reset Acurite 5 in 1 Rain Gauge
If you previously cleaned out the sensor, you need to ensure that:
- You correctly re-install the tipping assembly if you had removed it.
- There is a plug on each side of the assembly.
If you haven’t cleaned out the sensor previously:
- Open your 5-in-1 sensor by removing the four screws from the bottom.
- Remove any insects and debris that maybe there.
- Clean the rain gauge tipping buckets using a damp cloth.
- Place a small amount of car wax on a soft cloth and wipe down the tipping buckets to ensure the smooth flow of rain.
- Place a mothball in the nook, near the tipping buckets to defend against insects crawling to the sensor. You can use a piece of tape to adhere the mothball to the sensor.
- Reassemble the sensor once done
- Clear out any false readings that were taken during the cleaning process. Press the CLEAR TODAY button on the display.
Check this too: Lux Geo troubleshooting and user guide
A personal weather station is a fun way of getting information on different weather elements in your area. But for the data to be reliable, the equipment used needs to be accurate. With the above guide, you should be able to troubleshoot some of the problems that may have affected the integrity of your data.