How to Clean Keurig Needles
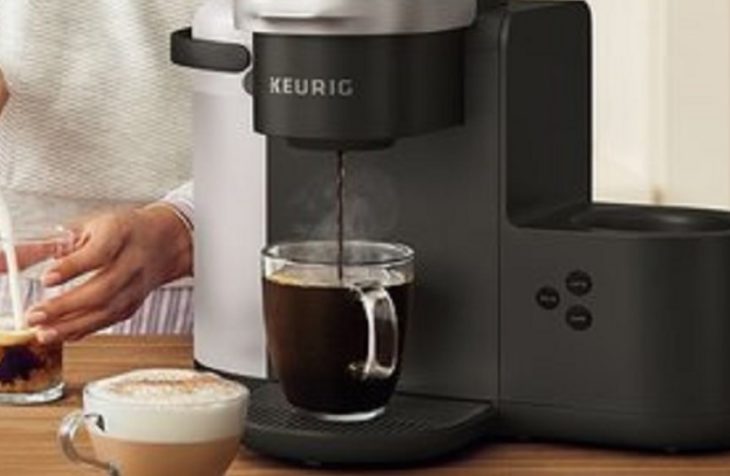
Nothing beats a good morning for coffee lovers than a perfect coffee brew, and that requires a functioning Keurig.
Having clogged Keurig needles can result in grainy brews, partial brews, or no brew at all, requiring a clean from time to time. Running clean water through the Keurig without the K-cups usually does the work, but you’ll need the Keurig needle cleaning tool, paper clip, or a toothpick for a deeper clean. There are several ways to unclog a Keurig, and one of them is cleaning the needles, which we have discussed below.
What are Keurig Needles and What Do They Do?
A Keurig works by running hot water through a K-cup of your choice punctured by two needles at the top and bottom, also known as entrance and exit needles, to release a brewed beverage into your cup. The top needle punctures the lid of the K-cup to allow hot water in, and the one at the bottom punctures the base of the K-cup. The needles are sharp, so be careful when cleaning them and ensure you’re in a well-lit room.
How Do You Use the Keurig Needle Cleaning Tool?
Your Keurig most likely comes with a small plastic cleaning tool for the needles. This cleaning tool tends to clean the top needles only, and the bottom needle will need a paper clip.
Directions
- Turn off and disconnect the Keurig from the power source.
- Lift the handle of your Keurig to expose the pod holder. Locate the entrance needle on the inner side of the Keurig lid.
- Fill the cleaning tool with water.
- Insert the cleaning tool into the pod holder.
- Close and open the lid repetitively for five times and let the entrance needle sit in the water for about 5-10 seconds in between.
- Remove the cleaning tool and close the Keurig lid completely.
- Plug-in and switch on the machine and run two clean water rinses into a cup without a K-cup.
Check this too: Best K Cup Coffee Pods
How to Clean Keurig Needles without the cleaning tool
Do not worry if you misplace your cleaning tool or your machine didn’t come with one; you can always improvise with tools you have in the house.
Things You’ll Need
- Clean metal paperclip
- Toothpick
- A long sewing needle
Directions
- Turn off and unplug your Keurig coffee machine from the socket.
- Separate the pod holder and the funnel by holding both ends and gently turning in the opposite direction. The funnel is the bottom piece, and the pod holder is the top piece.
- You will see the exit needle in the inside bottom of the pod holder. Do NOT put your fingers inside.
- Take your paper clip and straighten one side of the paper clip.
- Turn the pod holder upside-down and insert the paperclip’s straightened end into the tube at the pod holder’s bottom.
- Move the paper clip for 20-30 seconds to unclog the exit needles. Do NOT press too hard when you meet resistance.
- Rinse the pod holder and funnel over running water, remove any remaining clog with a washcloth and allow the two pieces to air dry.
- Locate the entrance needle on the underside of the lid. The entrance needle has two holes.
- Insert the paper clip into both holes, removing any residue.
- Please wait until the pod holder and funnel are completely dry then put them back together. Realign the funnel and pod holder and gently push the two pieces until you hear a click.
- Insert the pod holder correctly back into your Keurig until it snaps into place and then fully close the lid.
- Run some clean water through the Keurig without the K-cup into a cup to flush out any residue that may have remained. You can do two rinses, depending on how dirty the first rinse was.
If you do not have a paper clip, follow the same steps using any other long thin, and pointed object like a toothpick, sewing needle, or a skewer. Make sure these tools don’t break off in the machine, causing more damage.
How Do I Change the Needle in My Keurig?
You may need to replace your Keurig needle if it makes large holes or allows coffee grounds into your cup. It is a very straightforward repair if you follow the directions below.
Things You’ll Need
- Phillps screwdriver
- Flathead screwdriver
Directions
- Switch off and unplug the machine from the socket.
- Remove the water reservoir and drip tray to prevent them from getting in the way or getting damaged.
- Open the Keurig by lifting the handle and remove the pod holder.
- Place the Keurig on its back on the table and locate the 9mm Phillips screws underneath the Keurig lid.
- Using the Phillips screwdriver, remove the screws on both sides. Place all the screws aside since you’ll need them when screwing the replacement.
- Gently lift the top assembly off, exposing the tubing that runs from the water reservoir to the entry needle.
- Using the flat head screwdriver, disconnect the tube on both sides. Gently lift the tubing from the water reservoir connector and then from the entry needle connector. Keep hold of the plastic collar for the replacement.
- Unscrew the screws securing the tube to the top assembly, and the entry needle unit should come right off.
- Replace the entry needle unit with the new one and reassemble the parts in reverse order using the same instructions.
- Before securing the top cover, run a brew with the K-cup on and check for any loose connection. After a successful test run, you can put the lid back on and expect to enjoy your next brew.
Why is the Keurig Bottom Needle Not Puncturing
The following are several reasons why the Keurig bottom needle is not piercing the K-cup. They include:
- If the needle is not puncturing, but your Keurig is new, it could mean that you have a defective machine that needs a replacement.
- Most times, if the bottom needle is not puncturing, it could be that it’s too clogged with debris. You should clean your Keurig unit every 3-6 months for maintenance.
- If the needle is still not puncturing after a deep clean, the bottom needle could be broken or flattened. You may need to replace the bottom needle assembly.
- If you are using ribbed K-cups, the bottom needle may have a hard time puncturing the K-cup. If this happens, you have to switch to a different style of K-cup.
Signs that it’s Time to Clean Your Keurig Needles
Most recent Keurig models will indicate when the unit needs descaling, and this is an excellent opportunity to clean the needles. These are the three major indicators that will let you know it’s time to clean your Keurig needles.
- It would help if you cleaned your needles when you notice a stale taste in your coffee after descaling your machine. It means that there are coffee grains stuck in your needles, which rot over time, affecting your coffee taste.
- There may also be grounds in your brew when the Keurig needles have coffee debris clogged on them.
- The needles are also clogged when the machine brews a partial cup or is not brewing at all.
- Proper and regular maintenance for your Keurig is essential for a consistently good brew. Unclogging the needles at least once a month will ensure you have a decent brew every time. Remember that a well-maintained Keurig coffee machine also lasts longer.